- Description
- Tips & Tricks
- Application
- Go Green
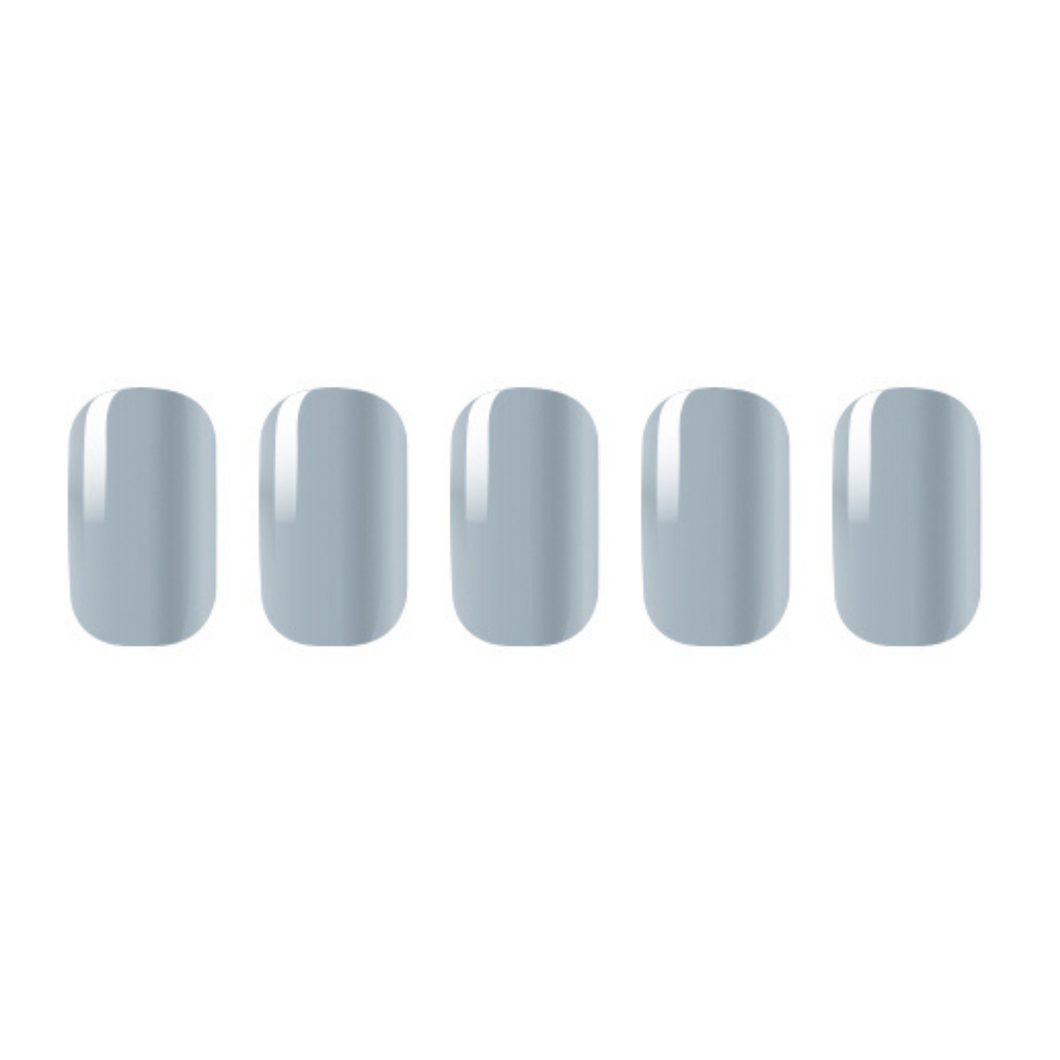
- Soft, flexible and stretchy prior to curing for a perfect fit
- Cures with a hard, glossy finish in 60s
- UV/LED Lamp Required, not included.
Each NAILWRAP.CO kit includes:
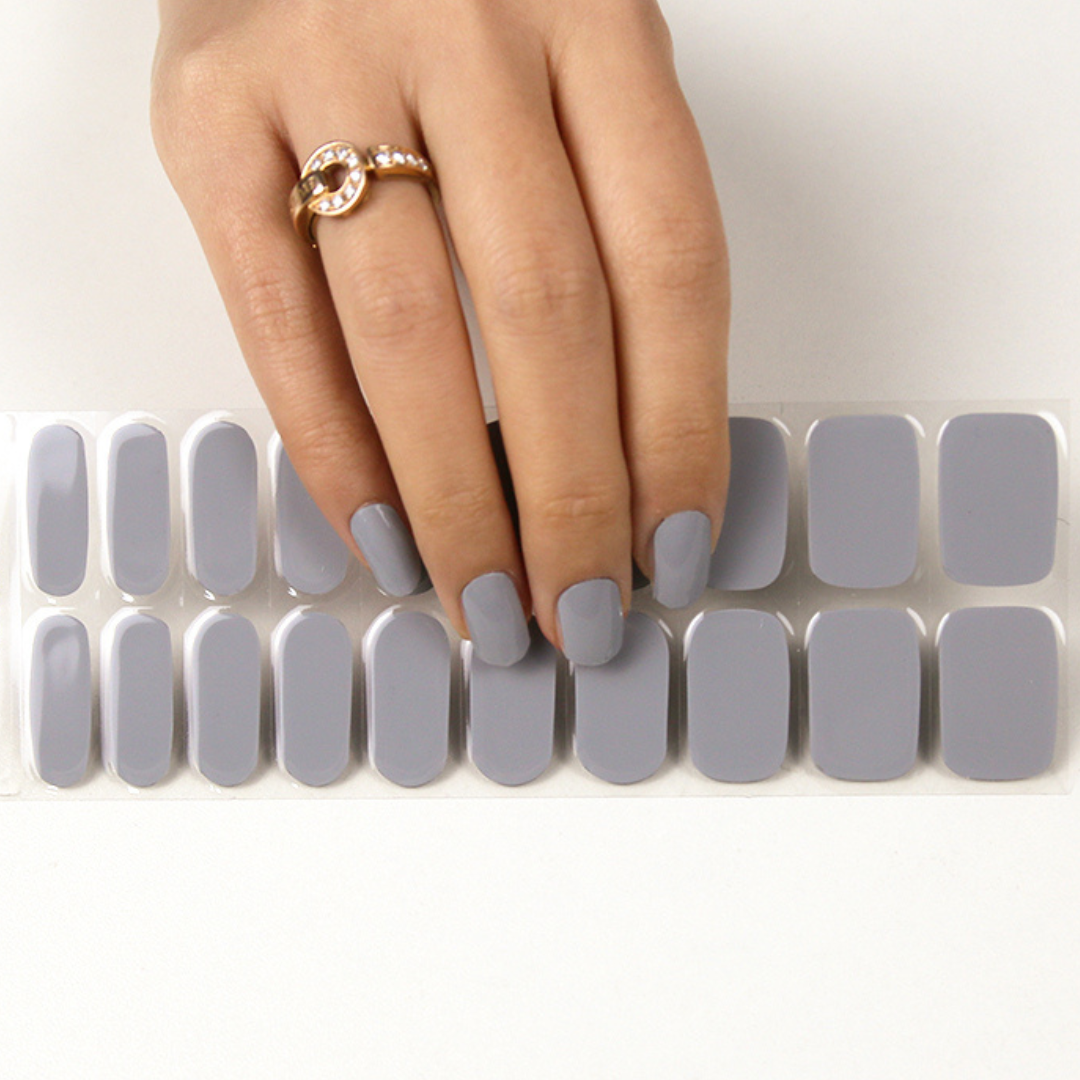
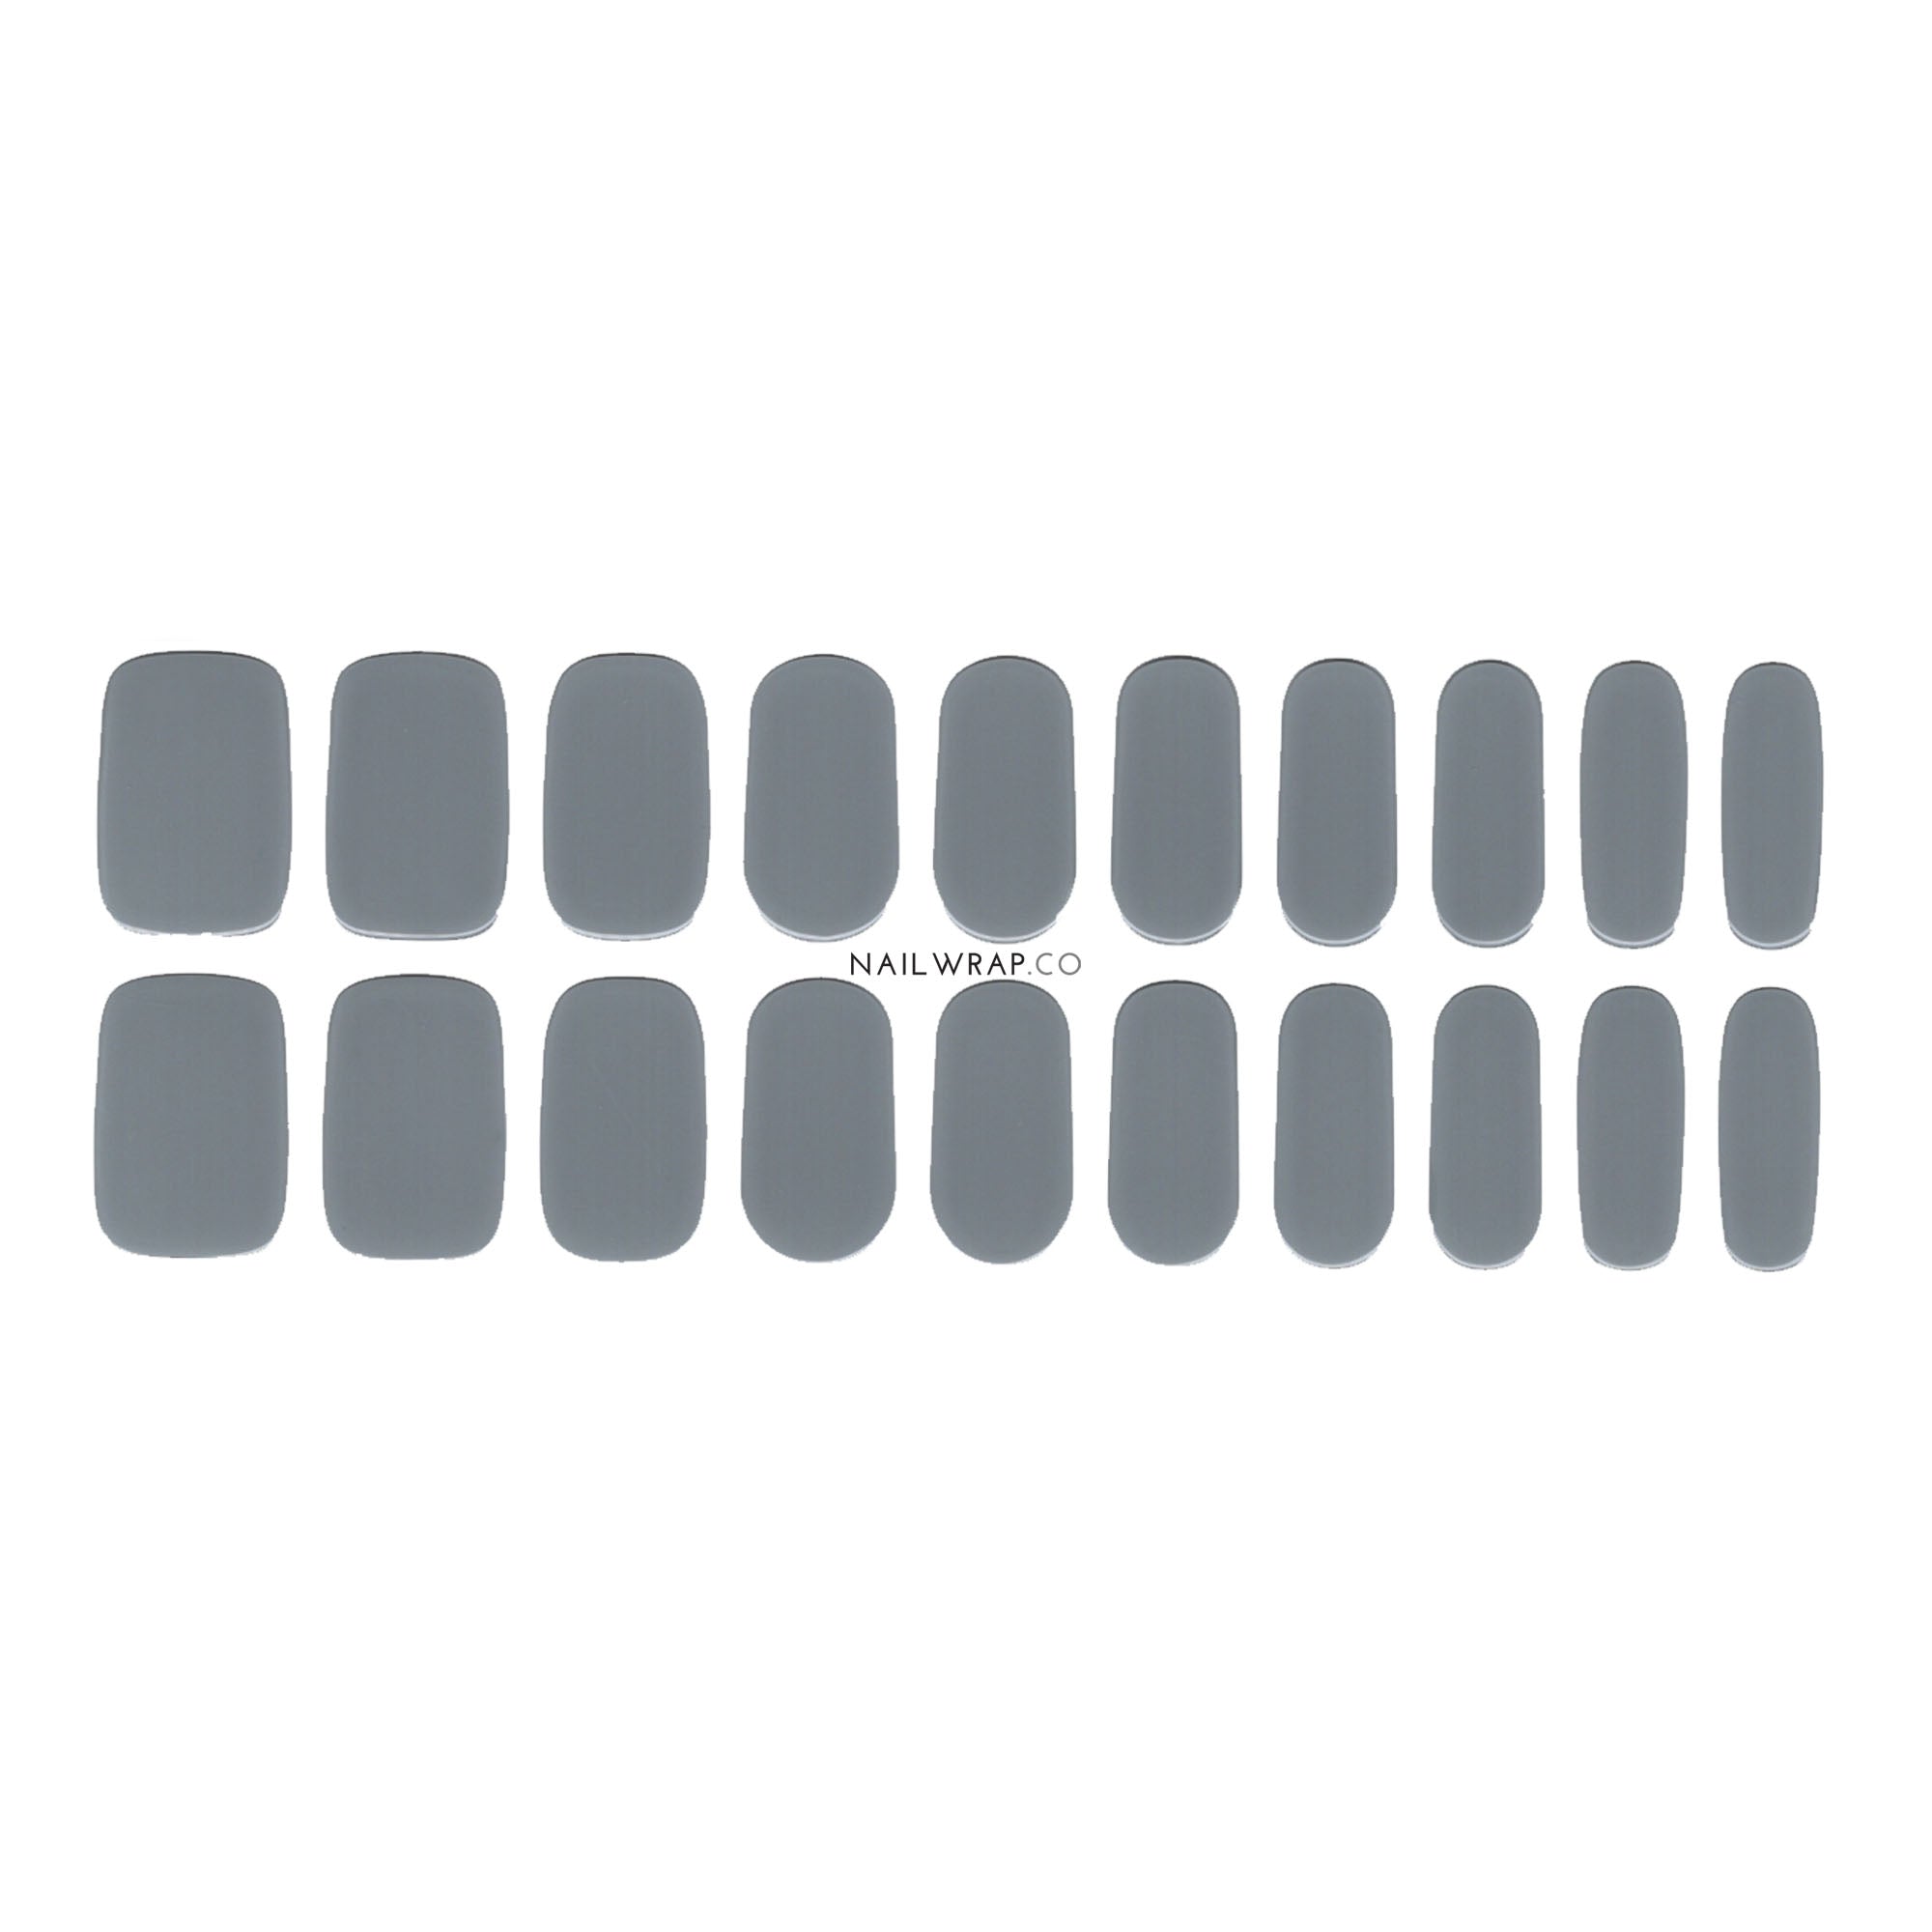
- 20 Double-Ended Self-Adhesive Semi-Cured Gel Nail Polish Wraps of varying sizes
- 1 x Mini Nail File
- 1 x Cuticle Pusher Stick
- Instructions for application on the back of our packaging
Disclaimer: Please understand that actual product colours may vary from colours shown on your monitor, and we cannot guarantee that the colour you see accurately portrays the true colour of the product.
1. Always start with clean dry hands. Any oil or moisturisers may affect the results of the application.
2. Buff your nail. If you have naturally smooth, glossy or waxy nails, buffing your nail surface gives the nail wraps a better grip, allowing it to stay on longer.
3. Apply base coat. If you intend to wear the nail wraps beyond 10 days, a base coat offers a layer of protection between your nails and the nail wrap.
4. Avoid touching your skin and cuticle. Apply the nail wraps slightly above your cuticle line. Do not overlap on your cuticle or skin. Placing it on your cuticle or skin will cause the corners to flip up easily.
5. File downwards and in one direction only. Filing in any other direction may cause the nail wraps to lift and air bubbles may occur.
6. Apply top coat. Remember to 'cap' the tip of your nails to seal it for a longer lasting finish. If you are using gel top coat, clean off excess gel around your nails before curing it. *Some top coats may not be compatible with our nail wraps and may cause shrinkage.
7. Avoid water for a few hours. We recommend applying the nail wraps after shower as it takes time to fully adhere to your nails.
8. Maximise each pack by cutting the nail wraps into half. If you keep your nails short, you can cut the nail wraps into half and use one strip for 2 nails!
Prep, peel, and stick!
Prep
- Gently push back cuticles using cuticle pusher included.
- File and shape as desired. Buff nail surface so the nail wraps can adhere well.
- Use an alcohol pad to remove any excess dust and oils from your nails.
- Ensure that nails are dry and free from oil before application.
Application
- Measure nail wrap to your nails to determine the best fit (we recommend one that is slightly smaller)
- Remove the clear protective film. Peel off selected nail wrap from the silver end.
- Centre nail wrap and apply to nail close to the nail bed without covering skin or cuticles.
- Press firmly to smooth down the nail wraps, gently rubbing out any wrinkles or bubbles.
- Continue to smooth the wrap over the tip of your nail to cap it.
- File downwards to remove excess wrap.
- Repeat on all 10 nails.
- Apply top coat for a longer lasting finish!
Removal
- Soak nails in warm water for 10 minutes to loosen the adhesive.
- Gently peel off the nail wraps.
Save the planet! We try our best to reduce our carbon footprint as much as possible.
You can choose to opt out of our instruction packaging sleeves during checkout by selecting our 'Go Green Option'.
When you select the 'Go Green Option', only ONE instruction sleeve will be provided - unless otherwise stated at checkout.
If you do not need the mini file & cuticle pusher, you may also leave us a note at checkout.